Faster Way to Fat Loss: Your Guide to Achieving Sustainable Results
Faster Way to Fat Loss: Your Guide to Achieving Sustainable Results
When it comes to fat loss, many of us dream of finding the faster way to fat loss—a quick solution that can help us shed those extra pounds and get the body we’ve always desired. We’ve all heard the promises: “Lose weight in a week,” “Get the body you want in just 30 days,” and other enticing claims. But the reality is that the faster way to fat loss requires dedication, science-backed strategies, and a commitment to making healthier choices that go beyond shortcuts.
In this blog, we will break down the science of fat loss, uncover the methods that work the best, and explore how you can approach your weight loss journey with a clear understanding of what it takes to reach your goals faster.
What is Fat Loss?
Fat loss refers to the process of reducing fat tissue in the body. While losing weight typically involves shedding both fat and muscle, faster way to fat loss focuses on preserving lean muscle mass while targeting fat. This ensures that the body’s metabolism remains intact, which is crucial for maintaining long-term results.
Fat loss occurs when the body is in a state of negative energy balance. This means that you are burning more calories than you are consuming, forcing your body to tap into stored fat for energy. The key to the faster way to fat loss is finding a balance between creating this energy deficit and ensuring your body has the right nutrients to maintain muscle and overall health.
The Science of Fat Loss
To understand the faster way to fat loss, we need to take a closer look at how our bodies burn fat. Fat loss happens through a process called lipolysis. During this process, stored fat is broken down into fatty acids and glycerol, which can then be used for energy. However, this process doesn’t happen automatically—it requires effort from your diet and exercise habits.
A major part of the faster way to fat loss is increasing the rate at which your body enters this fat-burning mode. This can be achieved through several strategies, which we’ll dive into in the following sections.
How Can You Achieve a Faster Way to Fat Loss?
1. Caloric Deficit
The first step to fat loss is establishing a caloric deficit. In simple terms, this means consuming fewer calories than your body needs to maintain its current weight. A study published in the Journal found that a caloric deficit is the most effective strategy for fat loss. When your body receives fewer calories, it starts using stored fat for energy, leading to fat loss over time.
The faster way to fat loss doesn’t require extreme calorie cutting. A moderate deficit of 500 calories per day can lead to a sustainable loss of about one pound of fat per week. While it might not be the “instant” solution some desire, it is a long-term and effective way to shed fat without harming your health.
2. Strength Training
While cardio exercises like running or cycling are commonly associated with fat loss, strength training plays a significant role in the faster way to fat loss. Resistance training, such as weightlifting, helps build lean muscle mass. Having more muscle increases your resting metabolic rate, meaning you burn more calories even when you’re not working out.
A study published in the Journal of Strength and Conditioning Research concluded that people who engaged in resistance training had significantly higher fat loss than those who relied solely on aerobic exercises. Incorporating strength training into your routine will accelerate your fat loss and help you retain muscle mass, which is essential for keeping your metabolism firing.
3. High-Intensity Interval Training (HIIT)
If you’re looking for a time-efficient method for fat loss, then High-Intensity Interval Training (HIIT) may be the faster way to fat loss you’ve been searching for. HIIT consists of short bursts of intense exercise followed by brief rest periods. It has been shown to burn more fat than traditional cardio exercises, in a shorter amount of time.
Research has found that HIIT can increase fat burning and boost metabolism. A study in the Journal revealed that individuals who performed HIIT sessions for 20 minutes, three times a week, experienced greater fat loss than those who engaged in moderate-intensity workouts for 40 minutes.
Nutrition: The Key to Faster Fat Loss
When it comes to the faster way to fat loss, nutrition is everything. What you eat directly impacts how your body burns fat. The key is focusing on nutrient-dense foods while keeping an eye on your calorie intake.
1. Protein Intake
Protein plays a crucial role in fat loss. When you're in a caloric deficit, your body may break down muscle tissue for energy. To counteract this, increasing your protein intake helps preserve muscle mass and keeps you feeling full longer. The faster way to fat loss includes a diet rich in lean protein sources such as chicken, fish, tofu, and legumes.
According to a study in the American Journal of Clinical Nutrition, consuming protein not only helps maintain muscle mass but also increases satiety, reducing the likelihood of overeating. Aim to consume around 1.2–1.6 grams of protein per kilogram of body weight to support your fat loss goals.
2. Healthy Fats and Carbs
Contrary to popular belief, eating fat doesn’t necessarily lead to fat gain. Healthy fats from sources like avocado, nuts, and olive oil can help regulate hormones and support fat loss. A diet rich in omega-3 fatty acids has also been shown to increase fat burning and improve metabolic health.
Similarly, carbohydrates are not your enemy in the faster way to fat loss. It’s important to choose the right carbs—those that are high in fiber, such as whole grains, vegetables, and fruits. Fiber helps regulate blood sugar levels and supports digestion, contributing to fat loss.
3. Hydration
Drinking enough water is crucial when aiming for the faster way to fat loss. Staying hydrated ensures that your body functions optimally and can help you avoid overeating. Studies have shown that drinking water before meals can increase feelings of fullness and reduce calorie intake.
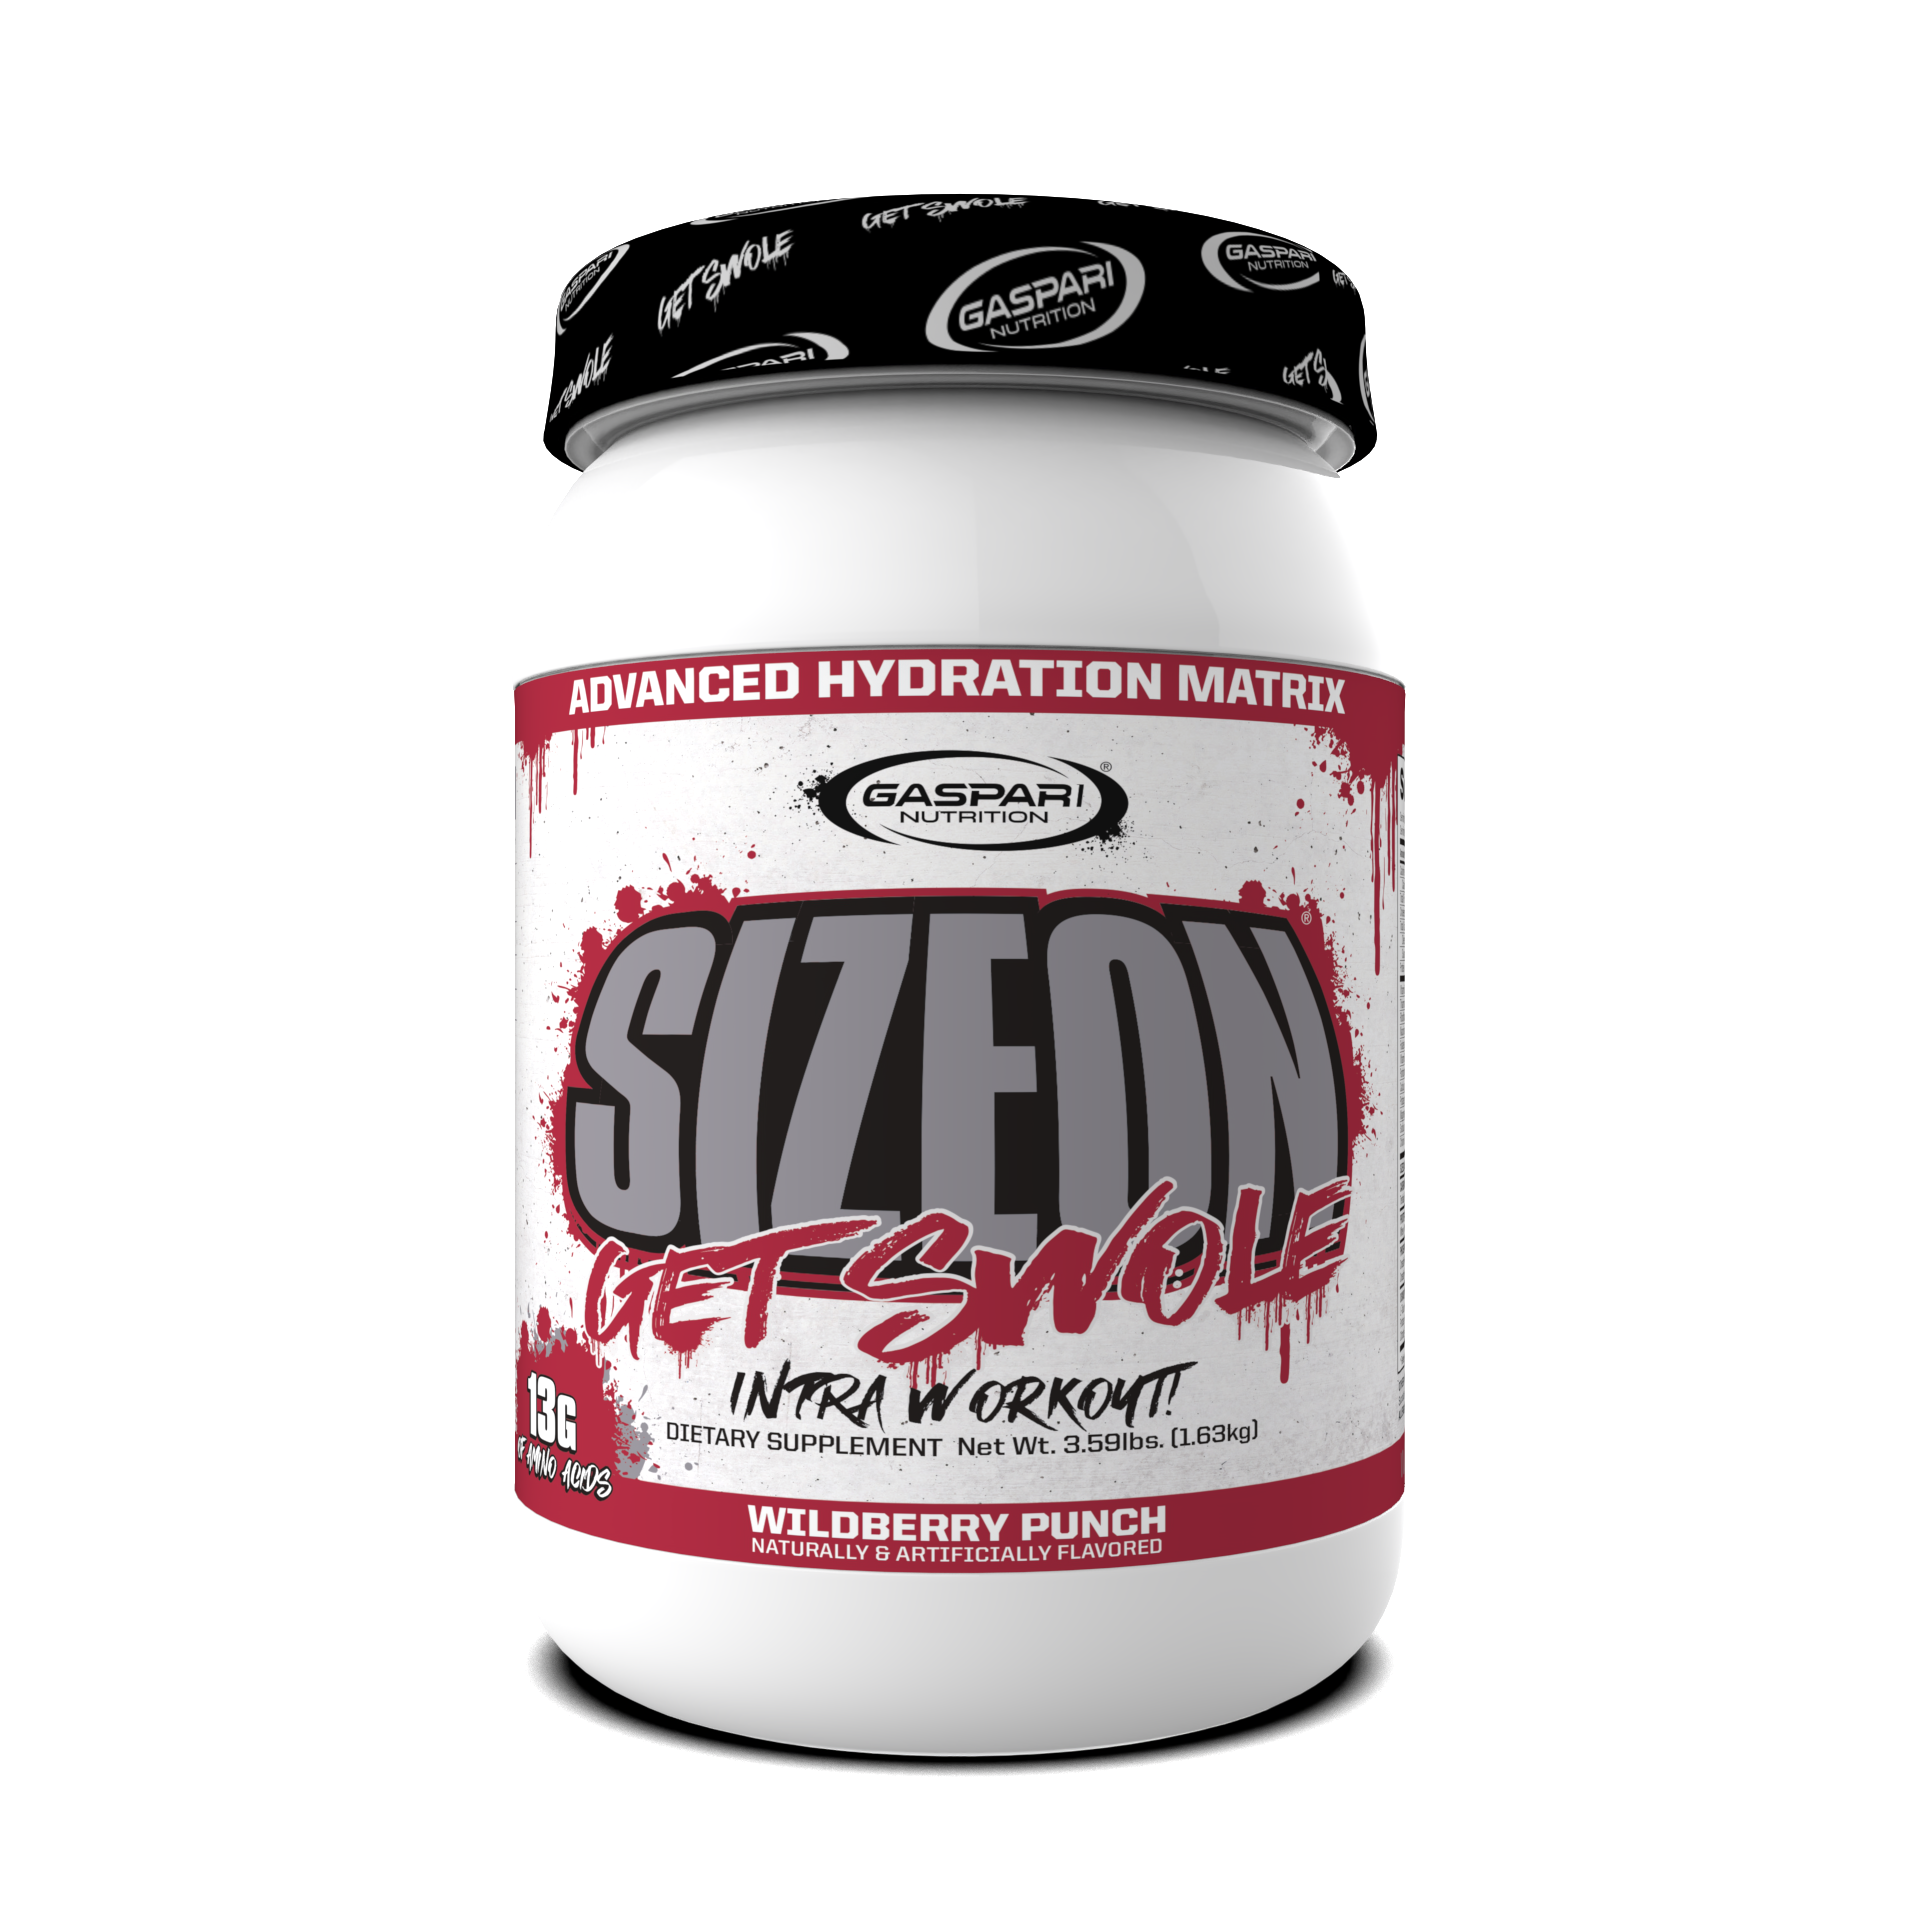
Gaspari Nutrition Proven GDA (Glucose Disposal Agent)
One of the crucial factors for fat loss is blood sugar regulation. Gaspari Nutrition’s Proven GDA is a supplement designed to assist with the faster way to fat loss by improving glucose metabolism. The key function of this product is its ability to enhance the body’s sensitivity to insulin, which plays a major role in managing blood sugar levels and reducing fat storage.
A clinical trial published in the Journal of Clinical Endocrinology & Metabolism showed that improved insulin sensitivity resulted in better fat loss and overall metabolic health. When combined with exercise and a controlled diet, the Proven GDA can accelerate the faster way to fat loss by preventing excess glucose from being stored as fat. In addition, using a product like Proven GDA may help reduce post-meal insulin spikes, further reducing the likelihood of fat storage.
The Proven GDA formula includes ingredients like berberine and cinnamon extract, which have been shown to regulate glucose metabolism and improve insulin sensitivity. This scientific backing makes it a highly effective tool in a fat-loss regimen. As part of the faster way to fat loss, including Proven GDA in your supplement routine can enhance your body’s ability to process carbohydrates efficiently and reduce the risk of fat gain.
Consistency: The Ultimate Factor for Faster Fat Loss
While there are many ways to speed up fat loss, the faster way to fat loss ultimately depends on consistency. It’s easy to get caught up in quick fixes, but the real key to long-lasting results is consistency. Creating a sustainable routine of healthy eating, regular exercise, and proper sleep will yield the best results over time.
Finding the faster way to fat loss involves adopting a balanced approach that incorporates exercise, nutrition, and lifestyle changes. By combining a caloric deficit, strength training, HIIT workouts, and a balanced diet, you can speed up the process of fat loss in a healthy, sustainable way. And remember, the key to success lies in consistency—staying committed to your fat loss journey is what will ultimately give you the best results.
No matter where you are in your fat loss journey, know that with the right combination of effort and knowledge, you can achieve the results you’ve been working for. Don’t forget: the faster way to fat loss isn’t about perfection, but about making gradual, long-term changes that will serve your health and goals.